Van-Life Solar: A Beginner's Guide to Solar Panels on the Road

Adding solar power systems to converted vans has changed the game for van-lifers, and within the past decade, it has ultimately become a key distinction between car camping and van life. Solar energy is a great alternative to van power for those who want to be off the grid, especially those in remote locations where generators and plug-in stations are not an option. Considering that sunlight is an abundant energy source that requires little effort to harvest, solar panels make it easy and affordable to have a reliable power supply no matter where you travel.
What Is Solar Energy, and How Do Solar Panels Work?
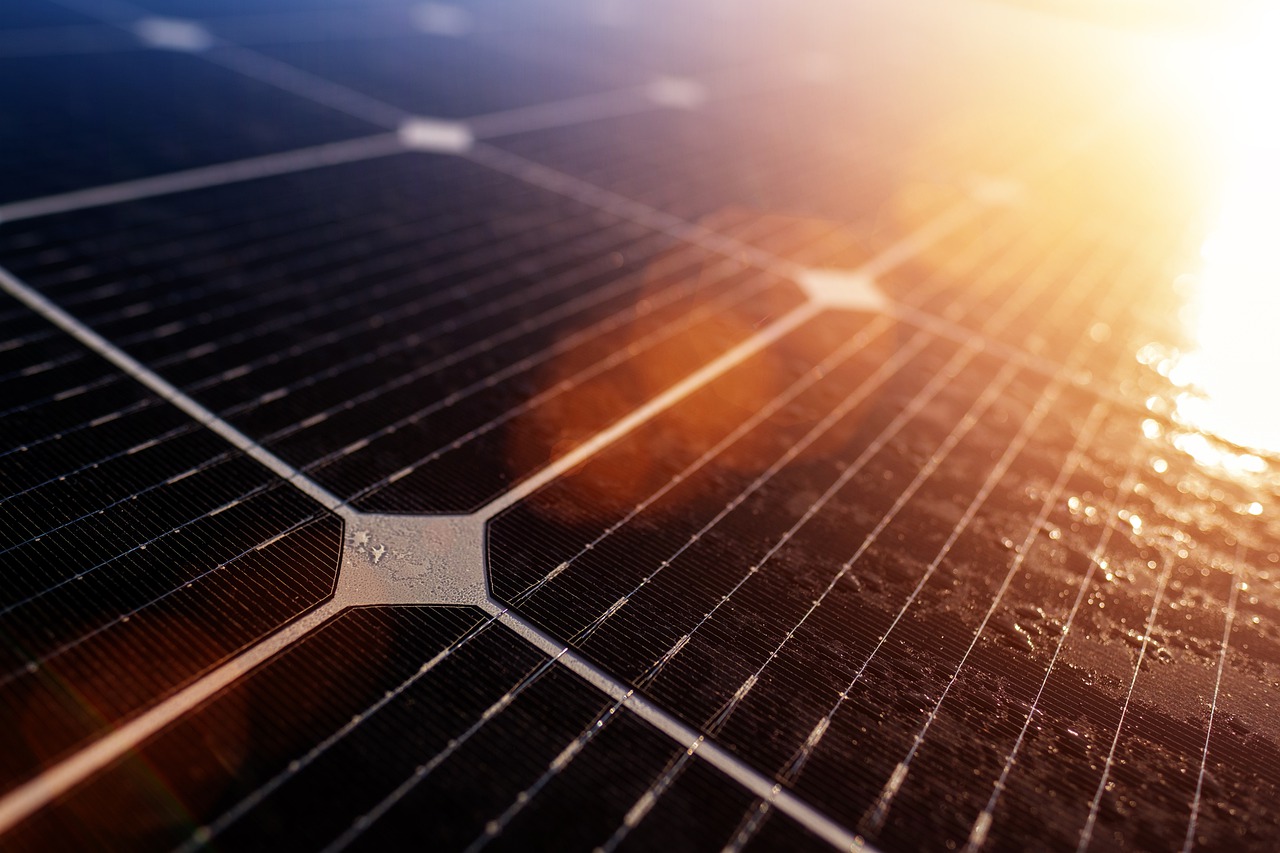
Solar energy is the light and heat coming from the sun that is harassed by technologies and converted into usable energy. The most common type of solar technology is solar panels. A (solar panel) is a flat, usually rectangular instrument containing photovoltaic cells, which are made up of silicon semiconductors such as crystalline silicon and newer thin materials such as copper indium gallium selenide. These cells are arranged in grid-like patterns on the surface of the panels. These panels are usually mounted onto higher surfaces in order to absorb the sun's rays and convert them into electrical current. Installation of solar panels helps to combat greenhouse gas emissions due to the fact that they are a clean source of energy, reducing our reliance on fossil fuels.
Solar Panels on the Road
Solar panels are used by van-lifers by mounting them on the roof of the van and/or on its sides. When the vehicle is on the road, these panels have constant exposure to the sunlight during the daytime, harnessing the energy and converting the voltage into battery power, or wattage. These devices are both easy to purchase and set up and come with a plethora of benefits to their users. Solar energy can be used for heating purposes, including water heating, and powering lights and appliances. Having the panels on the outside of the vehicle allows for a constant supply of energy; things like power outages or storms will not affect the ability to get power for everyday needs.
How Solar Panels Convert Voltage Into Usable Battery Power
In order to harvest energy, solar panels cannot exist on their own. First, you must purchase a battery, which serves as a power bank to store the energy you collect. The most common kinds of batteries for van setups are AGM, gel, and lithium iron phosphate. The most popular, lithium iron phosphate batteries, are the most efficient and longest lasting choice, justifying their higher price tag. Along with a battery, users must connect the solar panel to a solar charge controller. A solar charge controller limits the panel's flow of energy and optimizes the battery. Without a charger controller, the panels would connect directly to the battery, posing dangerous threats such as explosions or fire. The solar panel works by absorbing the sun's energy and converting it into direct current, or DC electricity. This power then charges the battery, which can then be used to power other things.
Choosing Your Solar Panel Components
Deciding on and designing a solar power setup can be tedious and challenging and depends primarily on the needs of its users. For example, a more simple setup that doesn't include large gadgets may only need a 50-watt solar panel to charge devices such as a mobile phone. However, for a more complicated setup that requires energy for air conditioners and kitchen appliances, more wattage is required, which could necessitate a 450-watt panel. Calculating a van's power needs can be done by making a list of every appliance and device that will be carried and used in the van, noting how many amps each item uses. Next, estimate the number of hours each device will be used per day and multiply the amps by the hours of use.
Installation and Setup Basics
Although van conversion companies provide installation services, many van-lifers complete this process on their own, often with the assistance of free online resources. Once you have chosen and purchased the three major components for your installation, it's time to connect them and run the electrical cables of these pieces through the roof and into the solar panel. The first step in this process is to connect your battery to the charge controller. Once this is completed, the controller should turn on. If you are using an inverter (which not all systems require), the battery will connect to this component, and finally, the solar panel is wired into the charge controller and the electrical current begins to flow.
- How Does Solar Work?
- Shining Some Light on Solar Panels
- Solar Energy Explained
- Students Design Solar-Powered Motorhome
- Think Green: Using Renewable Solar Energy
- Solarizing Washington, D.C.
- Expanding Solar Capabilities
- Guide to Solar Power
- Economic Analysis of Concentrated and Distributed Solar Power
- New York State Solar Handbook
- Solar Photovoltaic Technology Basics
- End-of-Life Solar Panels: Regulations and Managment
- Literal Light-Bulb Moment Showed That We Can Cut Solar Costs and Emissions Even More
- Energy Efficency Comparison: Fixed and Single-Axis Panels
- Solar Energy Farming as a Development Innovation for Vulnerable Water Basins
- RV Solar Panels: Are They Right for You?
- Solar Panel Guide for RVs: What You Need to Know
